- Monitoring system events
- Configuring hard disks, and
- Managing system performance.
Let's see how to Manage your computer:
1. Click the Start and then choose the Control Panel option.
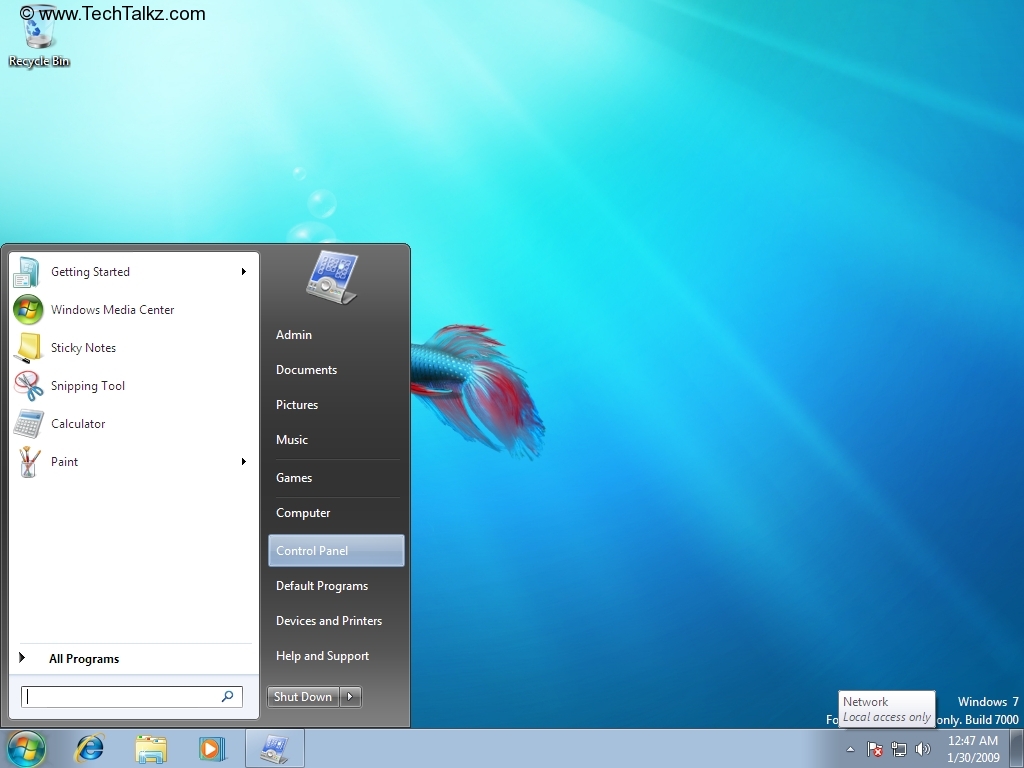
2. The Control Panel window opens up.

3. Click to open Administrative Tools.

3. Click Computer Management folder to manage your computer.

4. Under System Tools, click Task Scheduler to manage tasks that your computer will carry out automatically at the time you specify.

It shows the Task Status for last 24 hours and Active Tasks list. The Actions for the task scheduler are shown in the Right pane. You can Create Task, Import Task and Display All Running Tasks etc.
5. Click Create Basic Task to quickly schedule a common task.

Type Action Name and Description. click Next.

Click Weekly and Next.

Schedule the Date, Time and Weekday for the task and Click Next.

Choose the Action for the task. Click Start a program and Next.

Browse the program, Click Next and then Finish. The scheduled task will be listed in the Active Tasks List as below.

5. Under System Tools, click Event Viewer. Window opens up with the summary of Administrative Events that have occurred on the computer, Log Summary and recently viewed nodes list.

6. Click Shared Folders to view shared resources.

7. To view local users and groups list. Click Local Users and Groups.

8. Click Performance -> Monitoring Tools -> Performance monitor is used to view performance data either in real time or from a log file.

Create New Data Collector Set by clicking More Actions -> New -> Data Collector Set.

Click Next. Browse Root directory.

Không có nhận xét nào:
Đăng nhận xét